Export Photo for Web
|
 This tutorial is written for photo gallery and slideshow widgets. If you use a default photo album template of iWeb, you may not need to convert original photos into web format.
Nevertheless, I found iWeb templates compress photos not so much. They are still large, even though iWeb automatically generates each thumbnails.
Don't insert large photos because it causes your page to slow down as well as require lots of network bandwidth. To solve this issue, it is recommended to export every photo as the best format for web.
This tutorial is written for photo gallery and slideshow widgets. If you use a default photo album template of iWeb, you may not need to convert original photos into web format.
Nevertheless, I found iWeb templates compress photos not so much. They are still large, even though iWeb automatically generates each thumbnails.
Don't insert large photos because it causes your page to slow down as well as require lots of network bandwidth. To solve this issue, it is recommended to export every photo as the best format for web.
|
|
Introduction
There are several ways to convert your photos into web formats such as using photoshop, iPhoto, and other photo editing softwares. Among those methods, the easiest way is to use iPhoto because it is free, and super easy to manage photos if you are a Macintosh user.
In this reason, I would recommend to user iPhoto if you are planning to publish photo albums into your website.
In this tutorial, I will just describe how to export photos in your iPhoto as the best web formats for several beautiful gallery, and slideshows. Specifically, the following way is necessary to optimize your photos for many photo gallery widgets.
Instruction
-
Before importing your photos to be inserted into web gallery, consider which gallery or slideshow will be used on your site.
There are lots of photo galleries on web, but you can refer to four styles of photo gallery or slideshow I have created.
The most important thing is to decide which gallery style looks best for your photos. Then you can determine what sizes each photo should be.
-
Prepare photos which will be added to a specific widget, then drag them into iPhoto.
-
Your photos will be added to a new event.
-
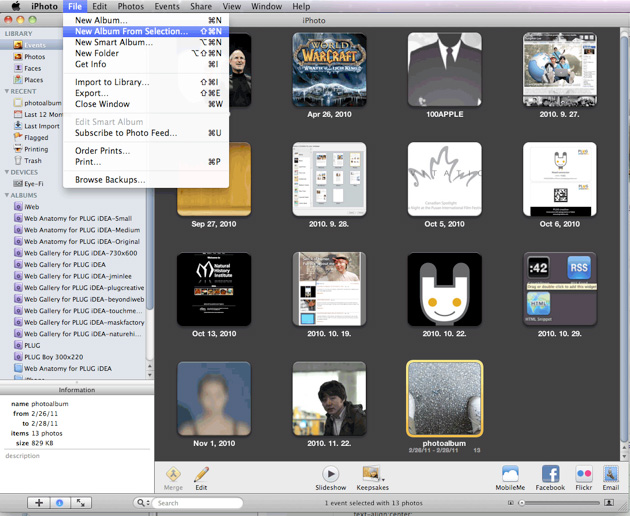
Choose the event just added to iPhoto events, then select "File > New Album From Selection" on the top menu.
-
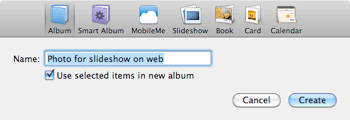
Input the album name. This name can decide every photo's filename with sequences.
-
Make sure that the checkbox (Use selected items in new album) is on.
-
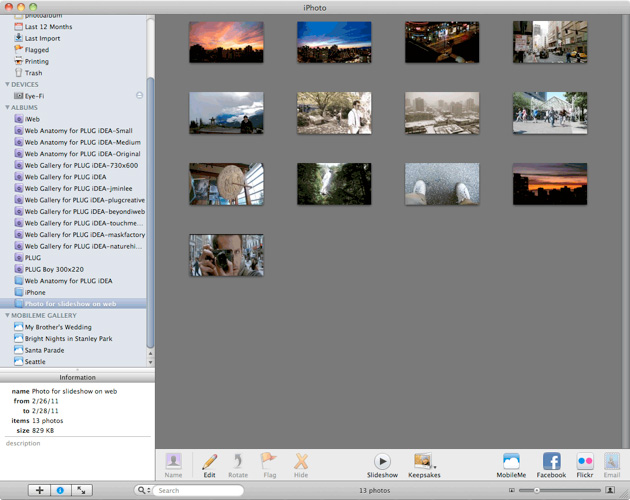
A new album is generated. We just need to export the album to web formats with optimization.
-
Select the new album which will be exported on the left browser.
-
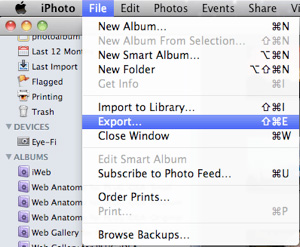
Select "File > Export" on the top menu. (Make sure your album is selected as well.)
-
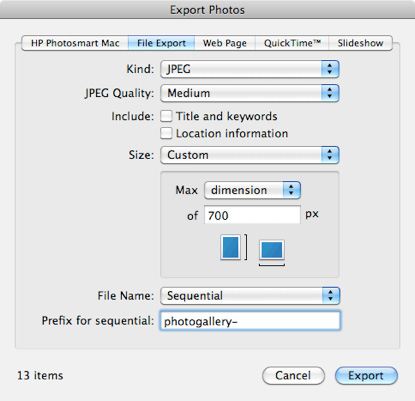
The below setting window will show up.
-
This setting is just an example. You can customize it by considering your web gallery style, and website dimension.
-
From my experience, "Medium" quality of JPEG is good enough for web.
-
For deciding the best size, choose "Custom", then you can define Maximum dimension. For example, if your website's width is 700px, you should input 700px. The photo will be resized up to 700px for each dimension.
If your photo is a portrait, the resized height is 700px because height is longer than width. On the other hand, for landscape, the width will be 700px. (For sure, if your photo is smaller than 700x700, each maximum dimension will be smaller than 700px.)
-
Once you have changed all settings, push "Export" button. Your photo will be resized and optimized automatically.
-
In addition, each photo file will be renamed as "prefix-01.jpg", "prefix-02.jpg"... ("prefix" is defined by you.)
-
Check the dimension of each photo, the converted size of each photo would be variable if each size of original photos are different each other. Open a finder, then go to the photos just exported. Select a photo, then press "Command + i" to see the actual size.
-
Not only dimensions, but also you can see that the file sizes are down as well.
-
Optimizing process is done. Please, remember this process. Online is not like local. All resources should diet down before moving to web.
|